How to Refresh a Wood Floor Finish: Maintenance Coats and When to Re-sand
 Wood floors are a significant investment in any home, offering warmth, elegance and lasting value. However, the protective finish that makes them beautiful and durable gradually deteriorates through daily wear, moisture exposure and foot traffic. Rather than immediately considering a full sand-and-refinish project, understanding how to refresh wood floor finishes become essential for homeowners seeking cost-effective maintenance solutions.
The protective layer—typically polyurethane, lacquer or oil-based varnish—bears the brunt of everyday damage. Scratches, dull patches, sticky spots and worn areas are common signs that your floor needs attention. The good news is that many wood floors can be revitalised without the expense and disruption of complete re-sanding, especially when maintenance is performed at the right time.
Assessing Your Floor's Current Condition
Visual Inspection Checklist
Before deciding whether you need maintenance coats or full re-sanding, conduct a thorough assessment. Check for:
- Surface scratches that haven't penetrated the finish completely
- Dull, cloudy patches indicating finish breakdown
- Sticky or tacky areas where the coating has become compromised
- Water rings or discolouration from moisture damage
- Areas where the wood grain is visibly raised or rough
- Gaps between floorboards suggest moisture movement
- Cupping, crowning or warping indicates structural issues
If the wood itself feels rough or splinters catch your socks, re-sanding is necessary. If the surface feels generally sound but looks tired, maintenance coats may suffice.
Testing the Existing Finish
Perform the water droplet test: place a few drops on an inconspicuous area and wait five minutes. If water beads up, the finish is still functioning. If it soaks in, the protective layer has failed and requires more substantial treatment.
Maintenance Coats: The Refreshing Solution
When Maintenance Coats Work Best
Maintenance coats offer an excellent middle ground for floors with cosmetic wear but structurally sound finishes. This approach works particularly well for homes where:
- The floor is 3-7 years old with surface-level wear
- Heavy traffic areas show dullness rather than serious damage
- The existing finish remains intact across most of the floor
- Budget constraints make full re-sanding impractical
- Minimal disruption to daily life is essential
- You want to extend the floor's lifespan by several additional years
Maintenance coats can add 2-4 years of protection when applied correctly, making them a sensible investment for many households.
Types of Maintenance Coats
Water-Based Polyurethane: Quick-drying, low odour and environmentally friendly, water-based products work excellently for maintenance applications. They're ideal for homes concerned about ventilation issues. Expect two coats, with recoating possible within 3-4 hours.
Oil-Based Polyurethane: Traditionally more durable and offering enhanced depth, oil-based products require 24-hour drying between coats and emit stronger fumes. They're superior for high-traffic areas but demand better ventilation.
Lacquer: Professional-grade lacquers provide rapid drying and exceptional hardness. Most homeowners leave lacquer application to specialists due to application complexity and equipment requirements.
Application Process for Maintenance Coats
Preparation determines success. Thoroughly clean the floor with a microfibre dust cloth and vacuum, removing all debris. For stubborn grime, use a slightly damp cloth—never saturate wood. Allow the floor to dry completely (at least 2 hours in conditions).
Sand lightly with 120-150 grit paper or a floor buffer with light abrasive pads. This dulls the existing finish, allowing new coats to adhere properly. Vacuum and tack-cloth the surface again to remove all dust particles.
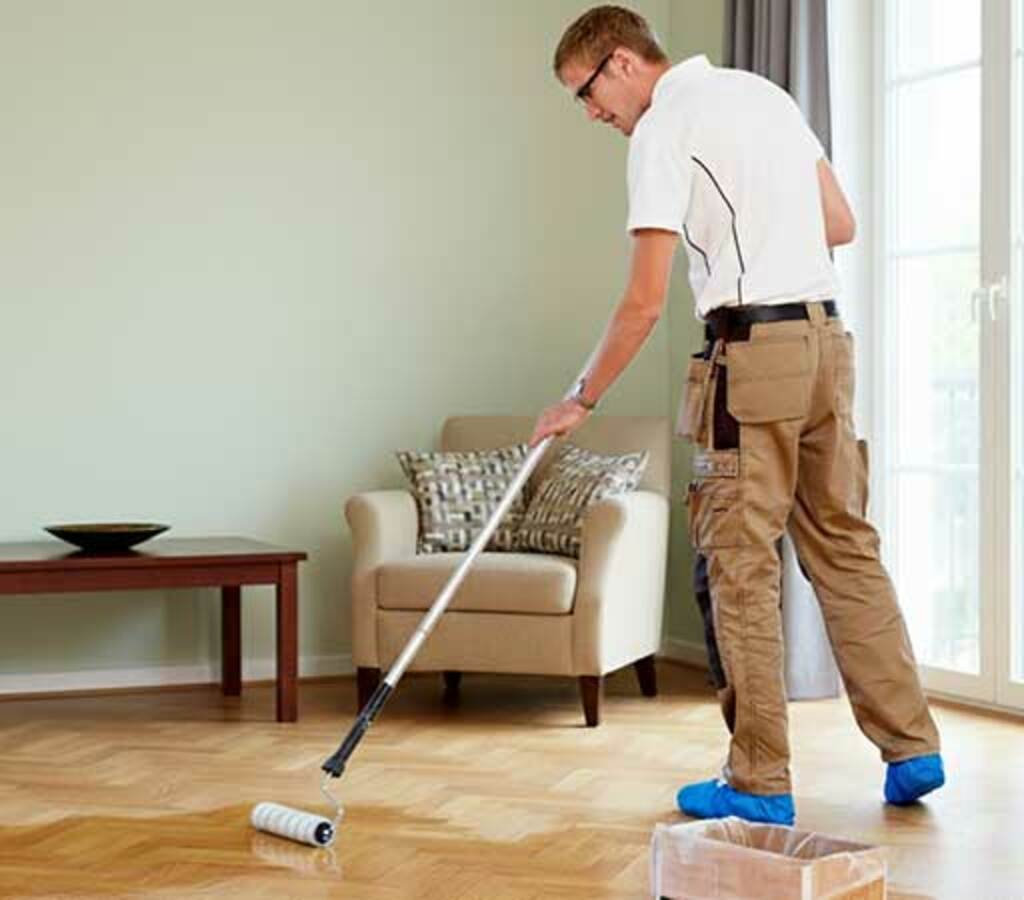
Apply the maintenance coat in thin, even layers using a roller or brush, working along the wood grain. Avoid pooling or overlapping marks. Allow proper drying time between coats—check manufacturer instructions for your chosen product. Typically, two coats suffice for maintenance purposes.
When Full Re-sanding Becomes Necessary
Clear Signs You Need Re-sanding
Certain conditions demand professional re-sanding rather than maintenance coats:
- Deep scratches or gouges penetrate the finish into bare wood
- Extensive water damage, staining or discolouration
- The finish flaking, peeling or visibly separating
- Multiple finish layers built up over decades, causing unevenness
- Raised grain throughout the floor surface
- Persistent stickiness that cleaning cannot resolve
- The floor is over 10-15 years old with heavy wear patterns
Additionally, if your floor originally had lacquer or specialised finishes, maintenance coats of different products may not adhere properly, necessitating removal and re-finishing.
Professional Re-sanding Process
Re-sanding removes the entire existing finish and top layer of wood, addressing serious damage permanently. The process involves:
Initial Assessment: Professionals identify wood type, existing finish and any structural issues before beginning.
Sanding Sequence: Multiple passes with progressively finer grits (starting 36-60 grit, finishing 120-150 grit) remove old finish and level the surface.
Dust Management: Professional equipment includes sophisticated dust extraction systems, crucial for homes in residential areas.
Finishing: New protective coats—typically 2-3 layers—are applied according to your specification and traffic expectations.
Expect 5-7 days for the complete process, including drying time. Costs range from £20-50 per square metre, depending on floor condition and finish quality.
Prevention: Maximising Your Floor's Lifespan
Whether you choose maintenance coats or eventual re-sanding, prevention minimises damage. Place doormats at all entrances to reduce grit and moisture transfer. Use felt pads under furniture to prevent scratches. Control humidity levels between 40-60% using a dehumidifier during damp winters, preventing cupping and gaps. Clean spills immediately and avoid excessive water exposure.
Establishing a maintenance routine—regular sweeping, microfibre mopping, and occasional specialist cleaning—significantly extends the period between refresh treatments, ultimately saving money and preserving your investment.